Marbleized Eggs Add a fun, multicolor twist to plain eggs using a marbleized effect. Simply add olive oil into the dye option to create an unpredictable, mottled look to your eggs.

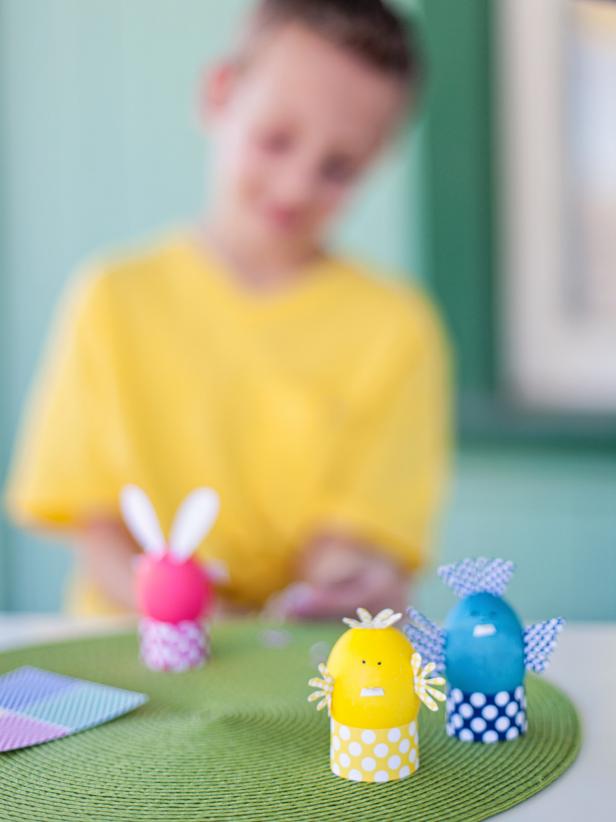
Easter Egg Animals Let crafty little palms get creative by turning colorfully dyed Easter eggs to adorable bunnies, chicks, sheep and birds. Download and print patterned paper so children can cut out ears, beaks, feathers, whiskers, etc., to create springtime creatures.
Thread-Wrapped Eggs Use baker's twine to add a trendy look to your own eggs. To begin with, dab a fast-grab tacky glue to the bottom of a paper mache egg and then coil the series around. To change colours, trim the first color and glue the end of the second color see. To get a smooth end, coil the string around the top, trim and dab on some glue.

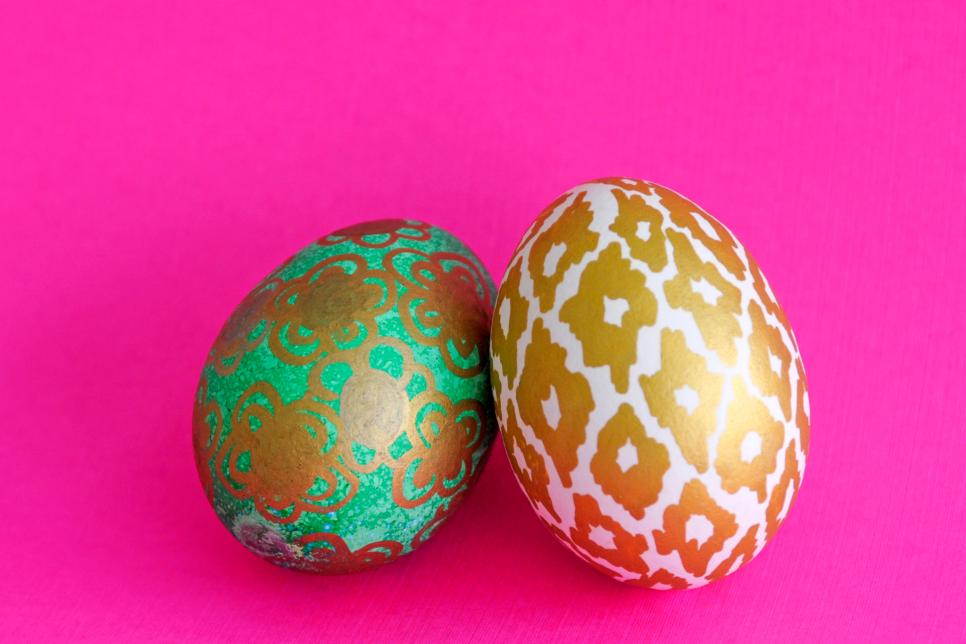
Doodled Eggs Calling all musicians! Freehand your favourite patterns, designs and words onto plain or colored eggs to get a one-of-a-kind look . Here, fashionable ikat and floral designs provide a sophisticated look in metallic gold.
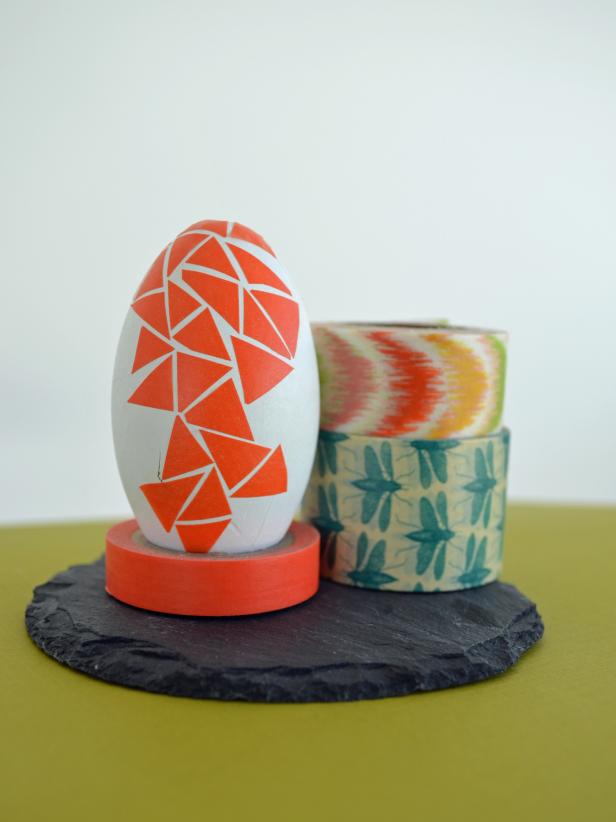
Washi-Taped Eggs Washi tape may be used for both decorative and everyday uses, but it is being used on Easter eggs, too. To find the appearance pictured, simply use a normal roll of washi tape from the color or pattern of your choice and begin cutting small pieces in a diagonal. Adhere the bits to create a mosaic effect. You might even use strips of washi tape and then overlap them vertically at the top and underside.
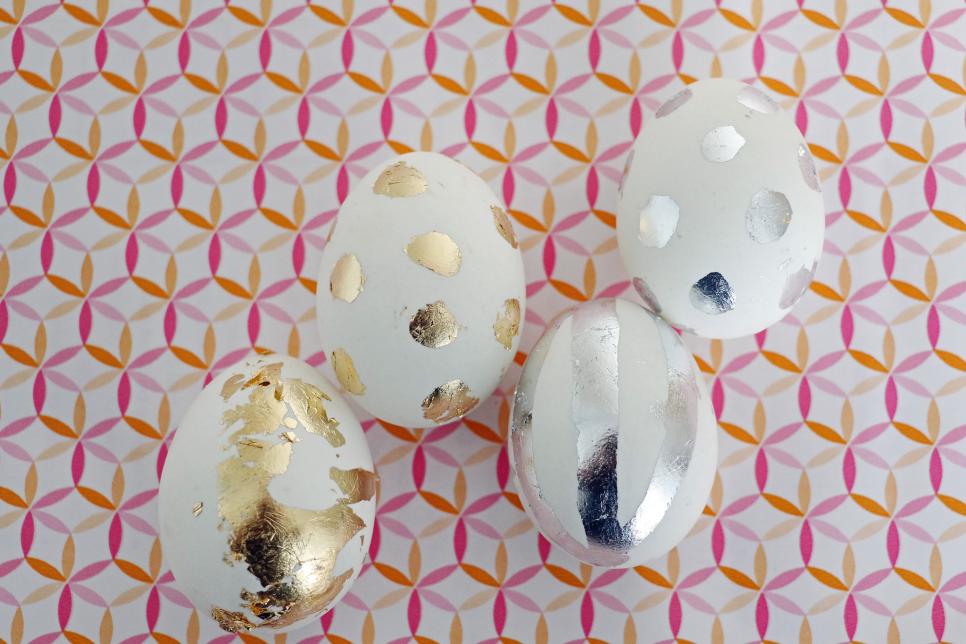
Foiled Easter Eggs All you have to make these metallic beauties is foiling glue and newspapers along with a paintbrush. Get the full recipe>>
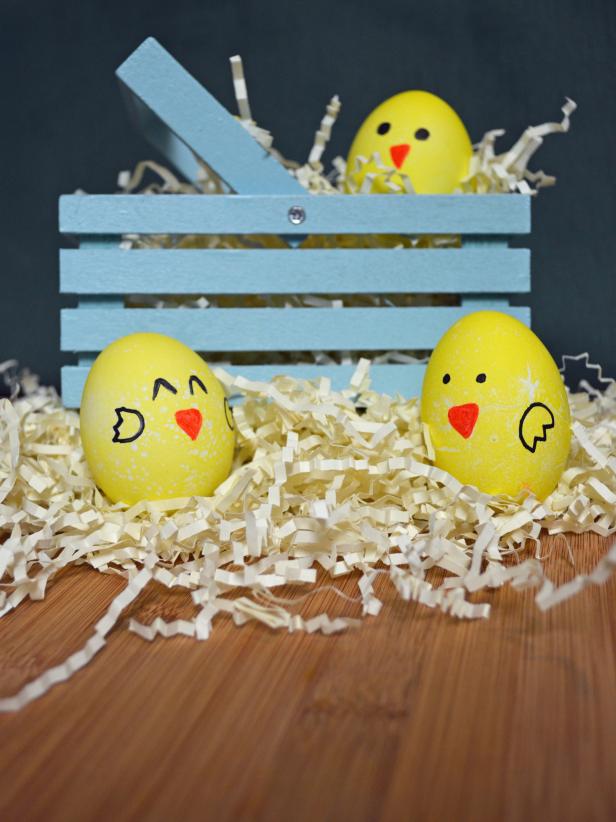
Chick Eggs Bring a classic Easter look to your house with cute chick eggs. First, dye the eggs yellow and let dry. Once dry, use a permanent marker to draw on eyes, beak and wings. Chirp, chirp!
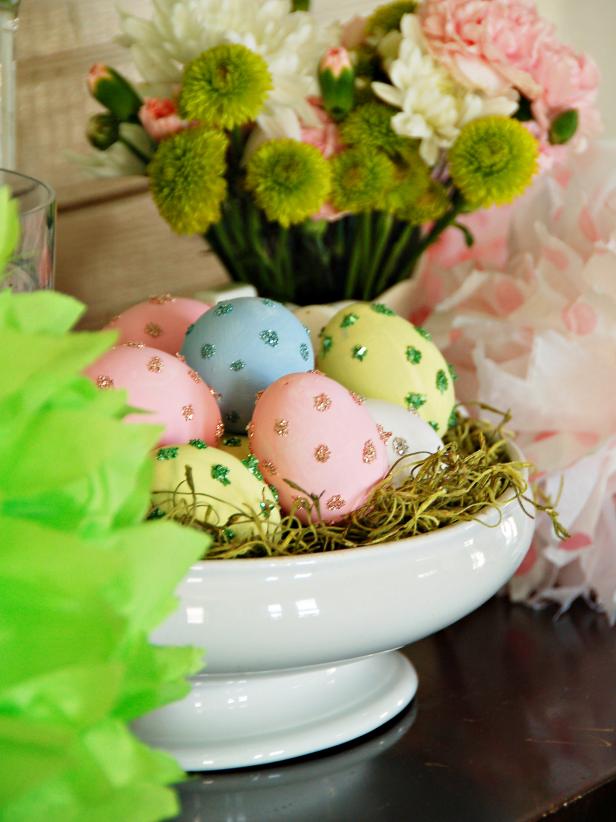
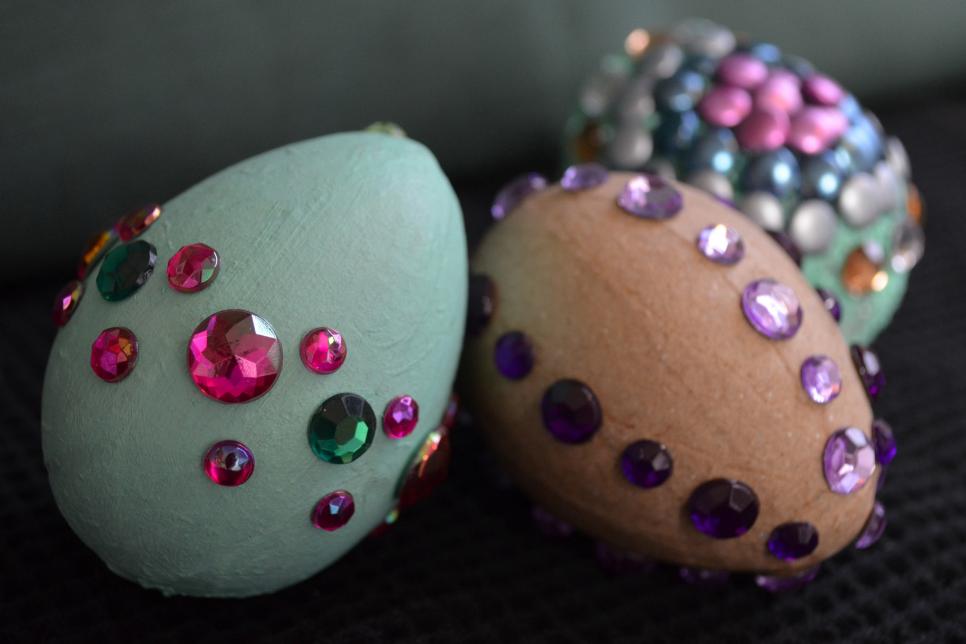
Bejeweled Eggs Add some glitz and glam to your Easter eggs with sparkling rhinestones. To begin with, if you want, paint your eggs together with acrylic paint and let dry. Then put stick-on rhinestones in various colors and sizes to produce the design of your choice.
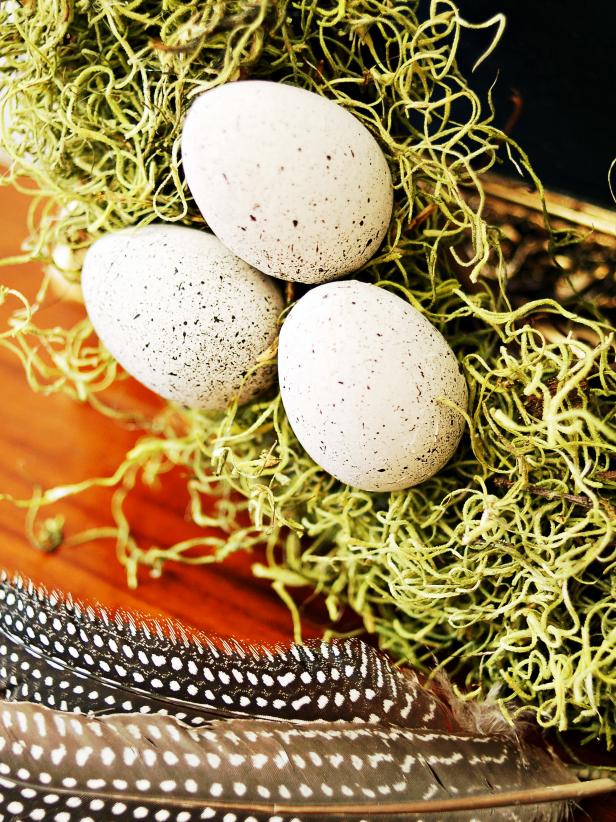
Speckled Eggs Create natural and classic-looking artificial eggs by employing a spoonful effect to paper-mache eggs additional hints. Use an artist's brush to apply beige oil paint to paper-mache eggs browse around here click for more. Mix dark brown oil paint using a water-based faux glaze. While wearing gloves, dip a spoon into the mixture and operate your thumb through the bristles to splatter the dark glaze onto the eggs.
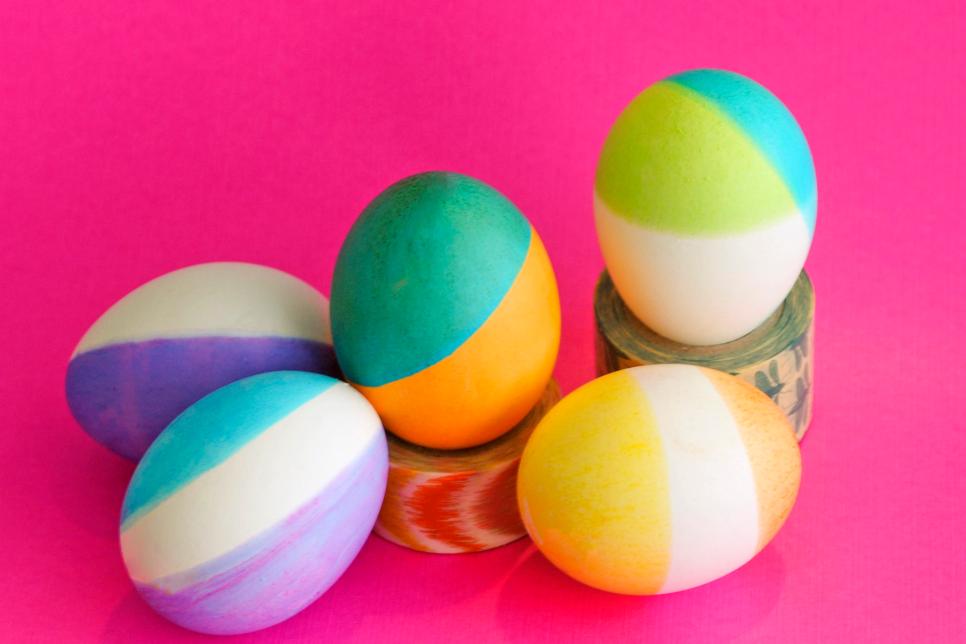
Neon Dip-Dyed Eggs Match your eggs to top design trends site web. Dip eggs in your favourite color dyes, leaving part of the shell exposed navigate to this website. Use strips of washi tape to keep lines clean and straight. Allow colours to emphasise to change looks and styles.
Glue-Strip Dyed Eggs Use plain hard-boiled eggs and adhere on paste strips where needed. You may produce a planned pattern or stick them in places that are unexpected for a surprising finish explanation click this link now. Dye your eggs, then peel off strips when dry and cool to show overlapping white lines.

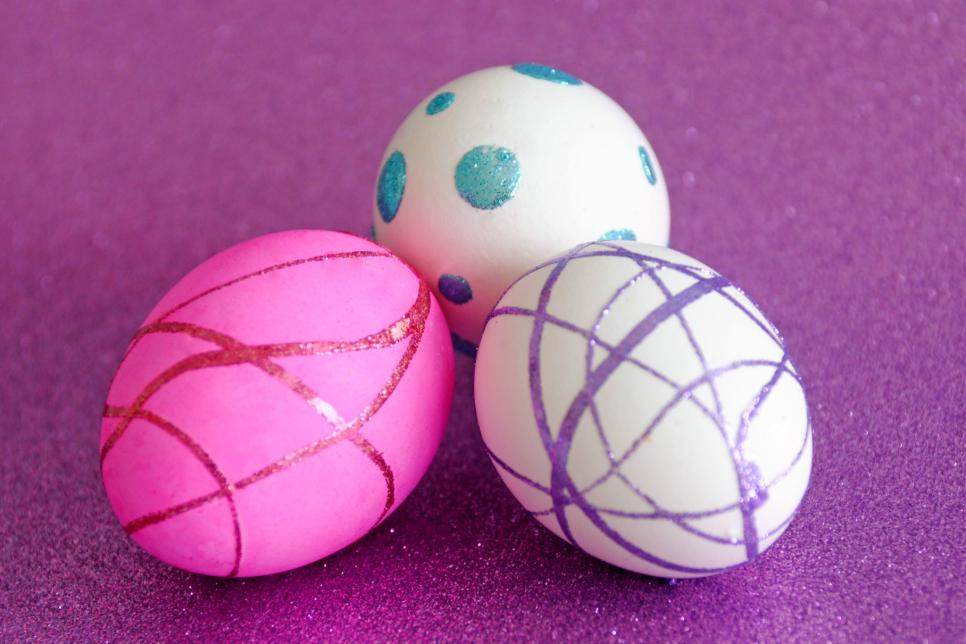
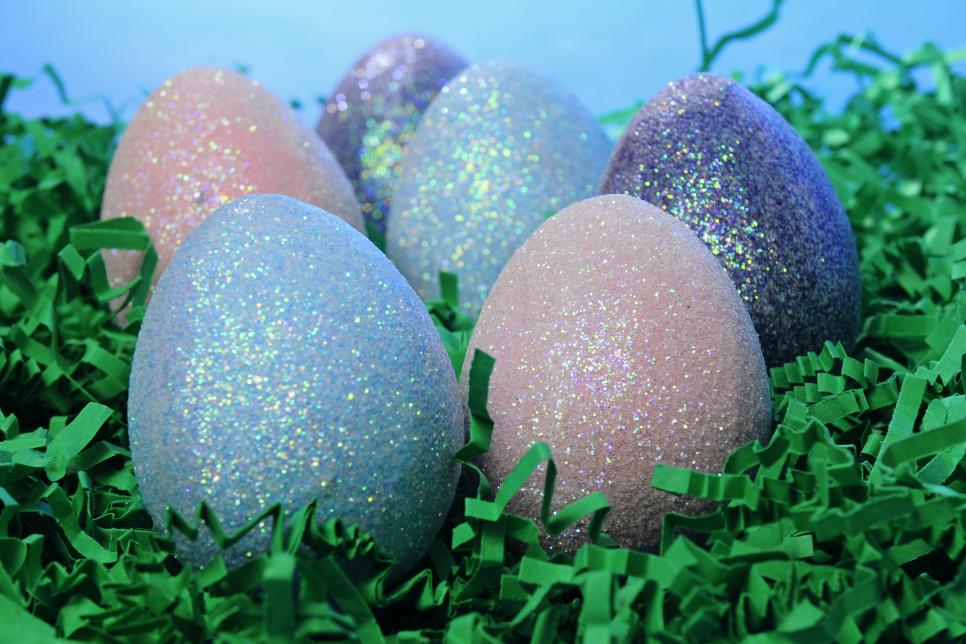
Glittered Sticker Eggs Adhere glue dots and paste strips to dyed or plain hard-boiled eggs. Fill a sandwich bag with glitter, place egg inside and shake to coat adhesive dots or strips Click This Link blog link. Rinse the extra glitter out of the egg in a saucepan under cold water.
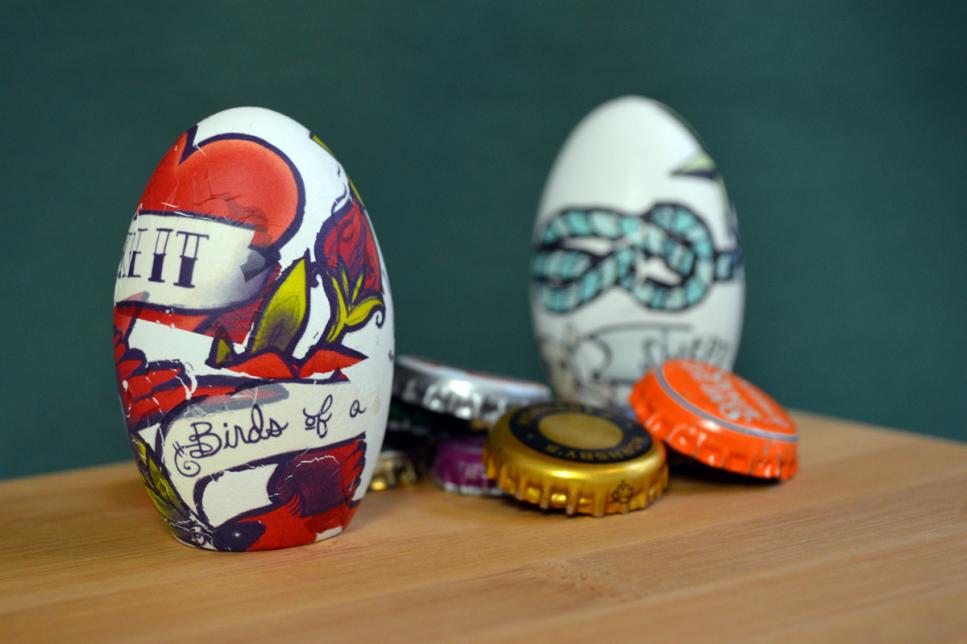
Temporary Tattooed Eggs Employing pre-bought rub-on transports or temporary tattoo paper, pay eggs in edgy graphics or words of your choice pop over here. To get the appearance pictured, cut various rub-on transfers and float on the eggs website link. It is OK if certain images do not transfer absolutely; it will provide a more distressed look.
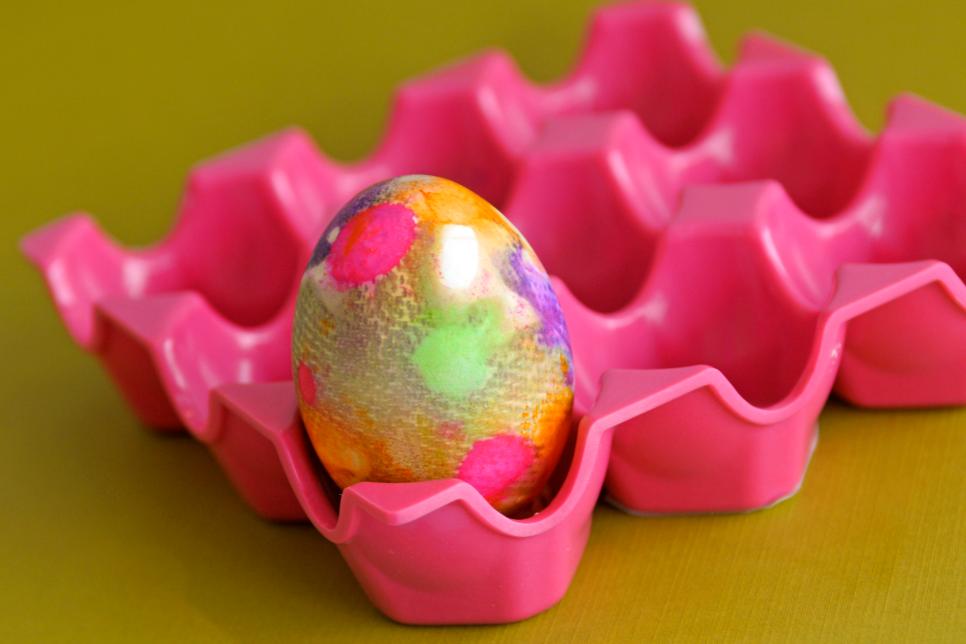
Tie-Dyed Eggs Tie-dyeing your Easter eggs is a lot easier than it sounds. Lay out a paper towel and then spray with vinegar. Then, put several drops of food coloring (2 to 3 colours) all around the paper towel. Put the egg in the center, gather the edges of the paper towel, hold tightly and spray vinegar before the paper towel is moist. Secure the top of the paper towel using a rubber band. Let the colors to soak into the egg for at two hours. Once ready, remove the paper towel to reveal your lovely, color-infused egg.
Glittered Eggs To cover your Easter eggs at a layer of glitter, just coat the entire surface of painted or unpainted eggs with all-purpose white glue. Place the eggs in a bowl of spoon and glitter glitter over moist glue until completely covered address. Once warm, sit back and admire.
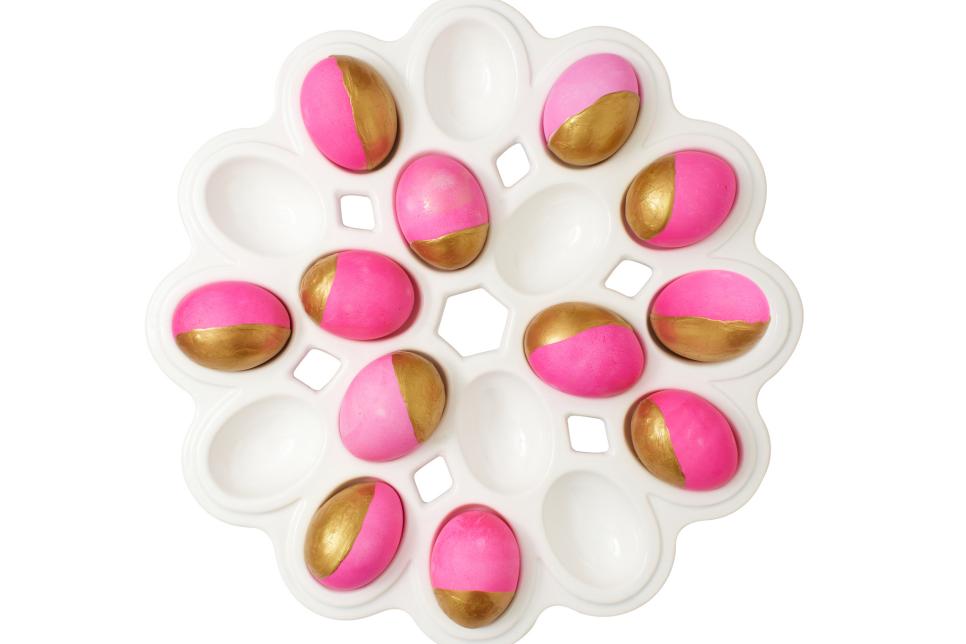
Gold-Dipped Eggs To brighten up your Easter decor, dye eggs in a neon color like pink. Let dry, then dunk the bottom or upper halves of these eggs in gold craft paint. Once it is completely dry, exhibit them in a white egg or as part of a centerpiece. Photo courtesy of HGTV Magazine
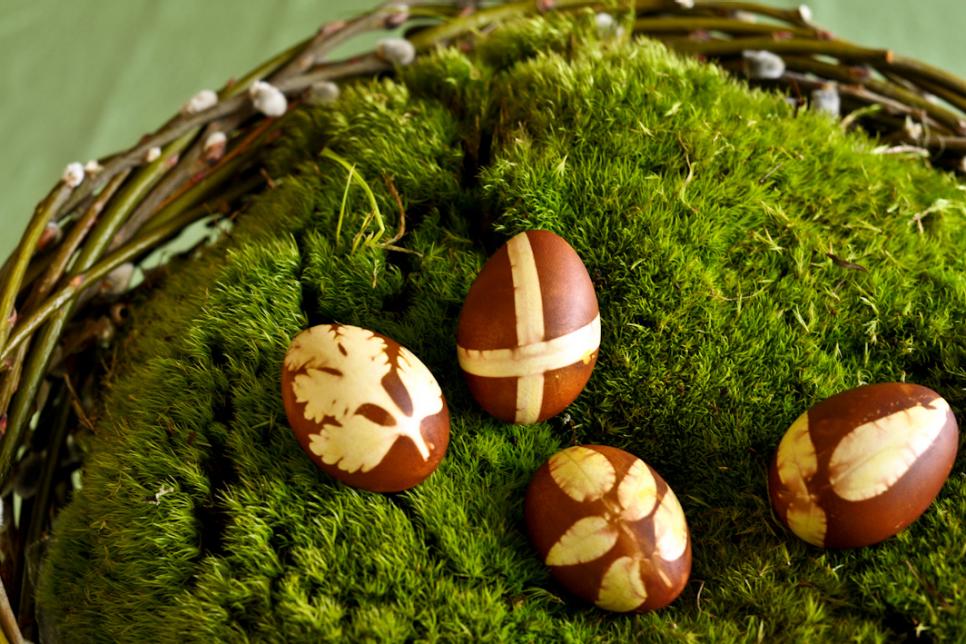
Eco-Friendly Eggs These eggs are surprisingly dyed with things in your pantry. It is just as affective and has no toxicity, is eco friendly and easy to do. The best options are yellow onions, beets, turmeric and other herbs. Try them with your kids! Photo courtesy of Kim Foren
No comments:
Post a Comment